Trying to find the perfect dual-monitor, PC/Laptop KVM switch… again!
Tag: windows
An Annoying Display Glitch
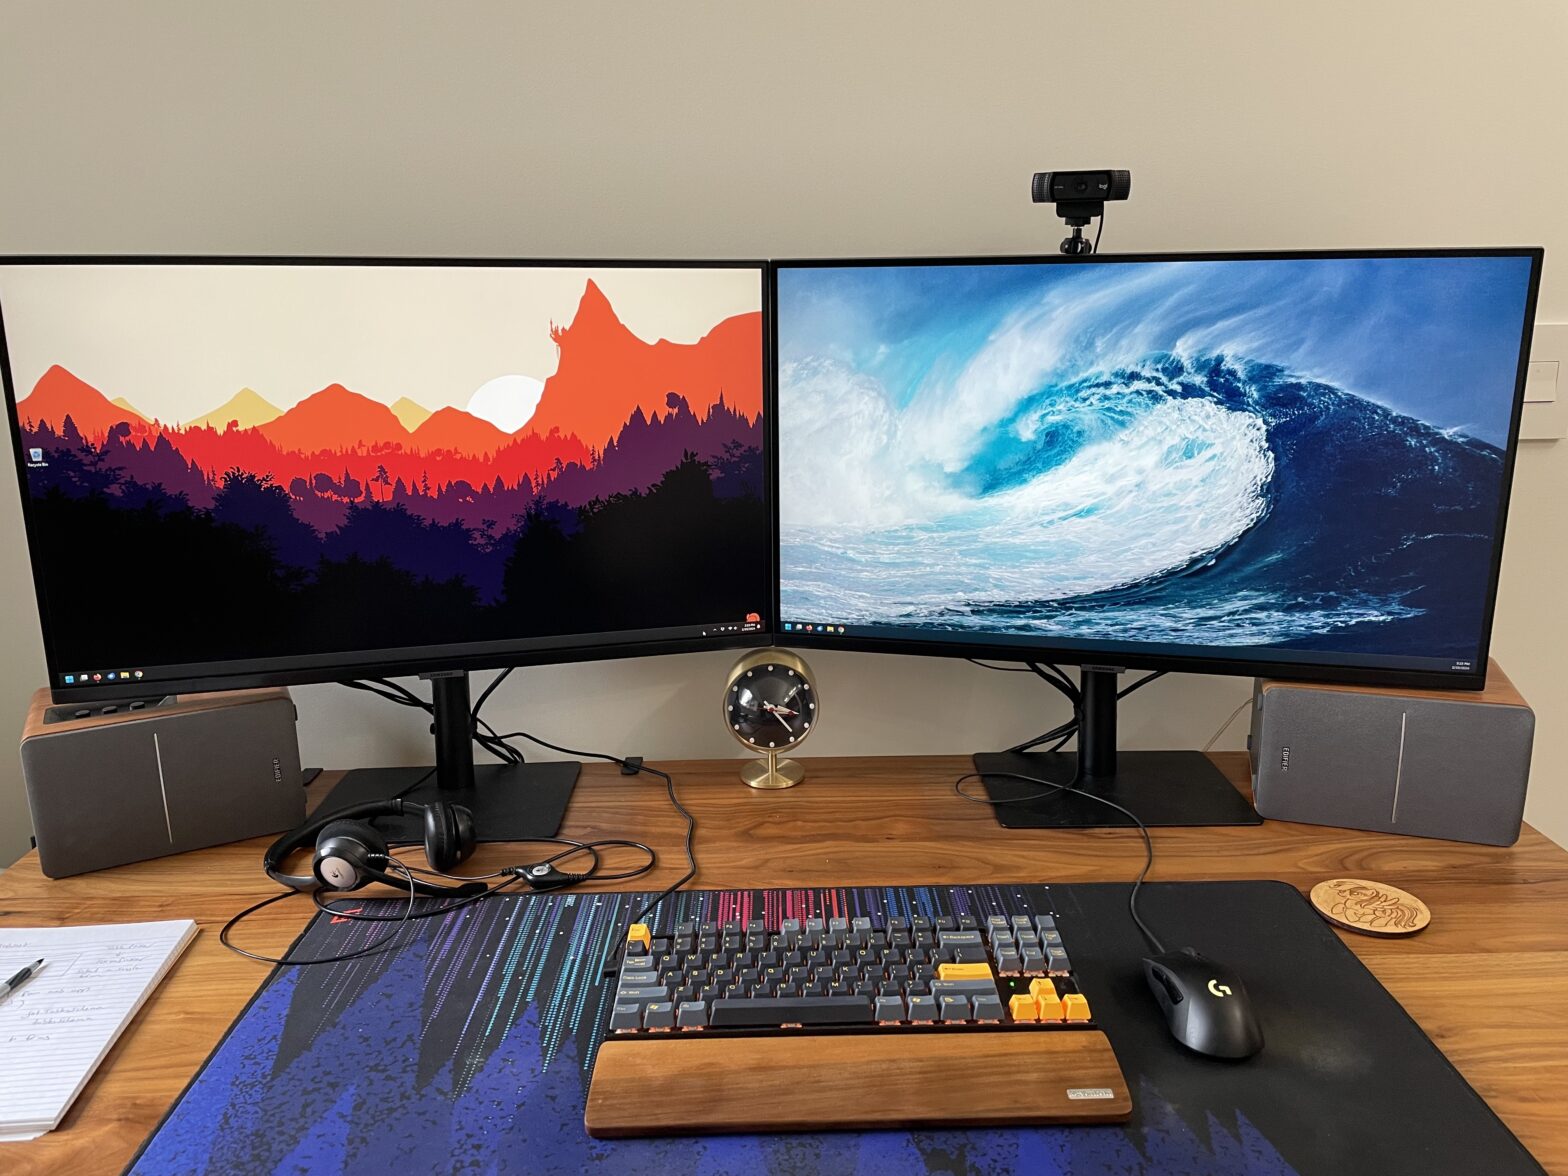
Recently I upgraded my monitors from a pair of Dell 24 inch displays to a pair of Samsung 32 inch displays – but ever since then, there’s been an odd little quirk that, in the grand scheme of things, isn’t a big deal, but it annoys me to no end and I can’t for the… Continue reading An Annoying Display Glitch
22H2 – Windows 11 as it should have been
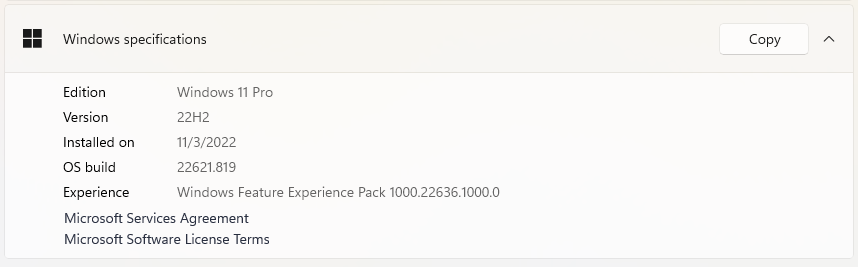
So the latest Windows 11 update – 22H2 – got rolled out to my desktop PC recently and I’ve finally had a chance to try it out and form an opinion on it. To me, this update feels like what Windows 11 should have been from the start. It fixes a lot of little issues… Continue reading 22H2 – Windows 11 as it should have been
Desktop Madness: Vol. 108
Retro-futurism? I’m here for this!
New Computer Time: Turning it up to 11
After 5 years, it’s time again to upgrade my computer, and this time I’m turning it up to 11… for Windows 11, with an 11th gen Intel CPU. (Haha… I’ll see myself out now.)