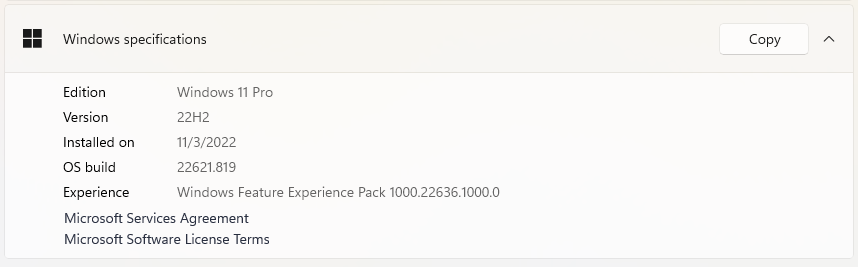
So the latest Windows 11 update – 22H2 – got rolled out to my desktop PC recently and I’ve finally had a chance to try it out and form an opinion on it. To me, this update feels like what Windows 11 should have been from the start. It fixes a lot of little issues… Continue reading 22H2 – Windows 11 as it should have been
Category: Software
The Quest for the Perfect Alarm Clock
How hard is it to find a good alarm clock these days?
Windows 10: FINALLY
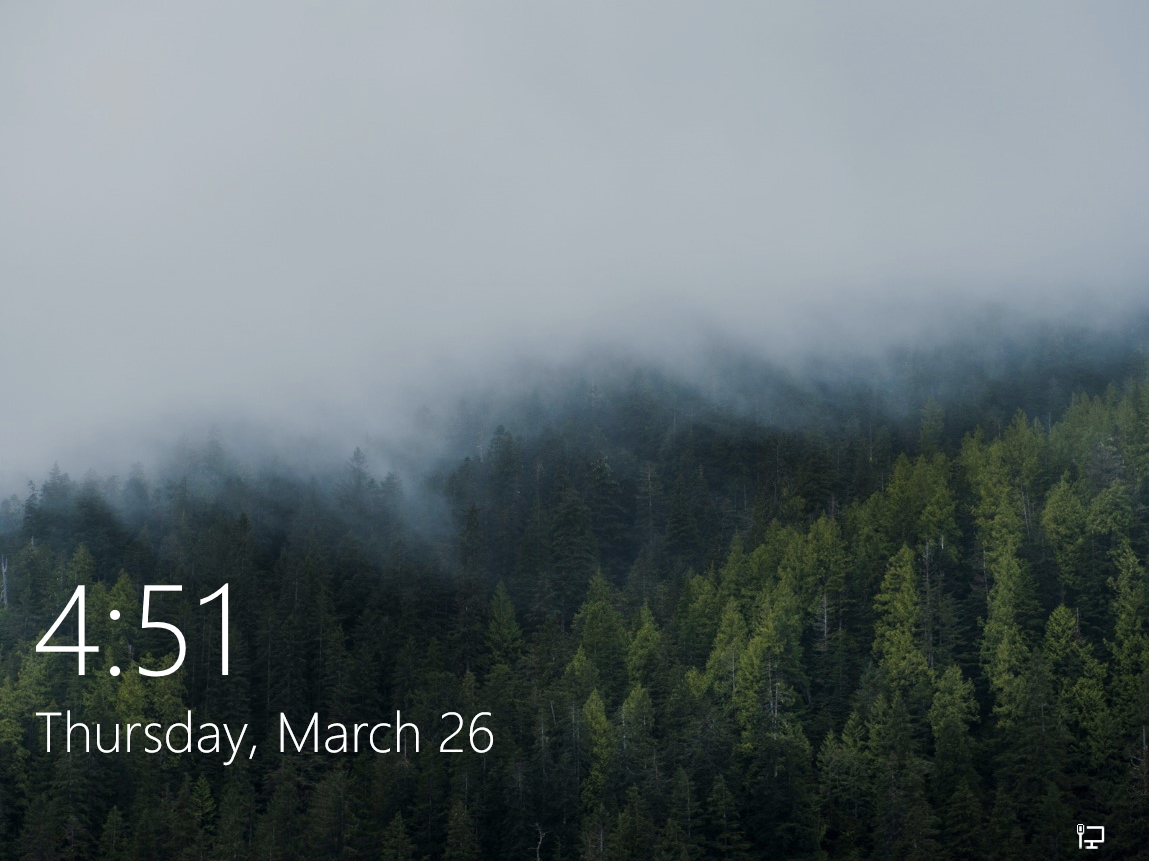
I’d been playing around with the Windows 10 Preview on my virtual machine and I liked what I was seeing, so as soon as the “reserve your copy of Windows 10” thing popped up on my computer I filled in my name so I would be able to upgrade when it was ready. Despite this… Continue reading Windows 10: FINALLY
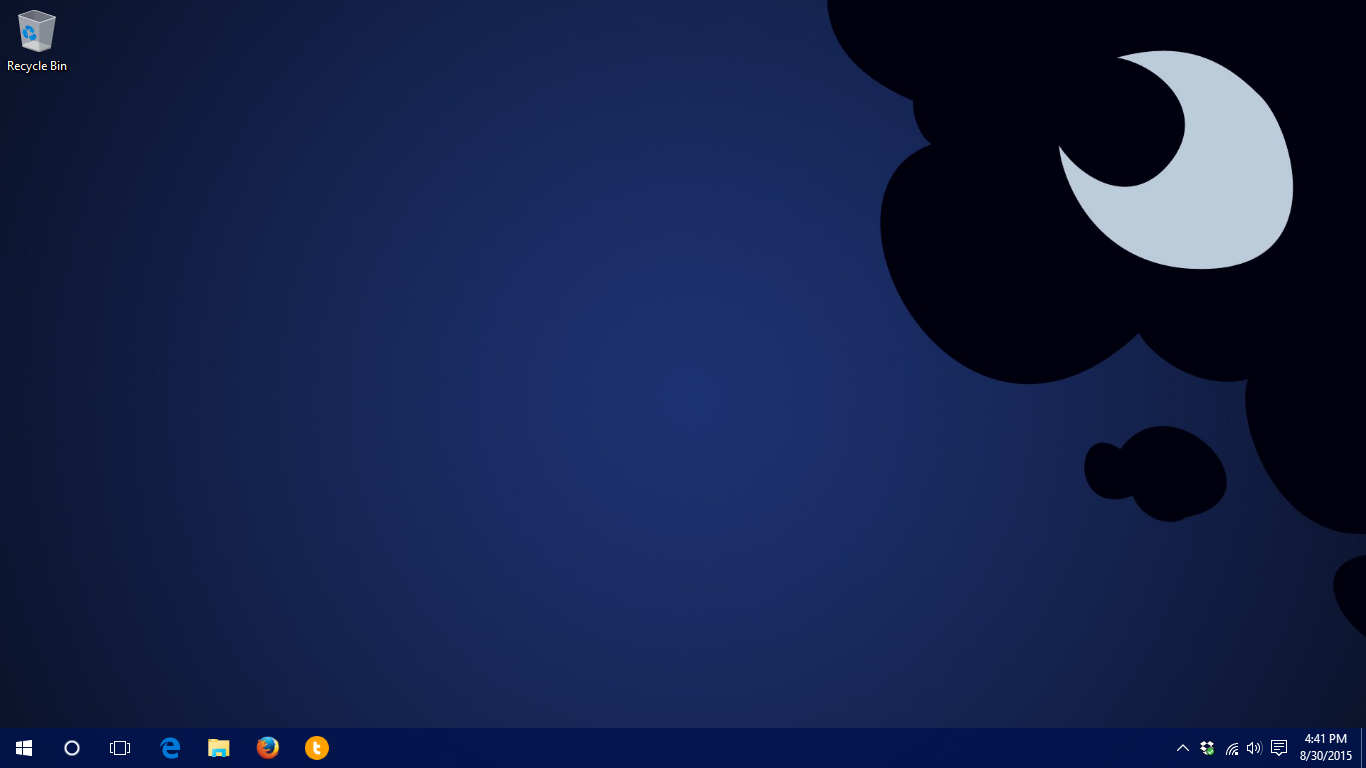
Windows 10 Technical Preview – Thoughts So Far
I decided to finally take a look at the technical preview for Windows 10 and give my thoughts on it so far. First off, it was surprisingly easy to get a hold of – unlike past Windows versions, you didn’t need to sign up for any special developer program or anything. The initial installation experience… Continue reading Windows 10 Technical Preview – Thoughts So Far
Things I Wish I’d Known When I Started Programming

I’ve been programming for more than a few years now, but sometimes I like to look back at things I wrote when I was much younger, and reflect on how much I’ve learned since then. Of course, no one expects you to start out knowing everything, but there are a few things I wish I’d… Continue reading Things I Wish I’d Known When I Started Programming