Thinking of getting a rabbit for Easter? Before you do, answer “yes” or “no” to the following statements: If you answered “yes” to any of these questions, you should think twice (or maybe more) before getting a rabbit – and maybe for Easter the better option would be to get a chocolate or stuffed toy… Continue reading Think Twice (or More) Before Getting a Rabbit for Easter
Mercedes GLK 250 Towing Experience
A while back I wrote about what it’s like to use a Mercedes GLK 250 as a tow vehicle, and promised that I would do a follow-up once I’d finished a big trip I’d planned that would involve me towing a big camper trailer around the country. Well, that trip has come and gone, so… Continue reading Mercedes GLK 250 Towing Experience
An Annoying Display Glitch
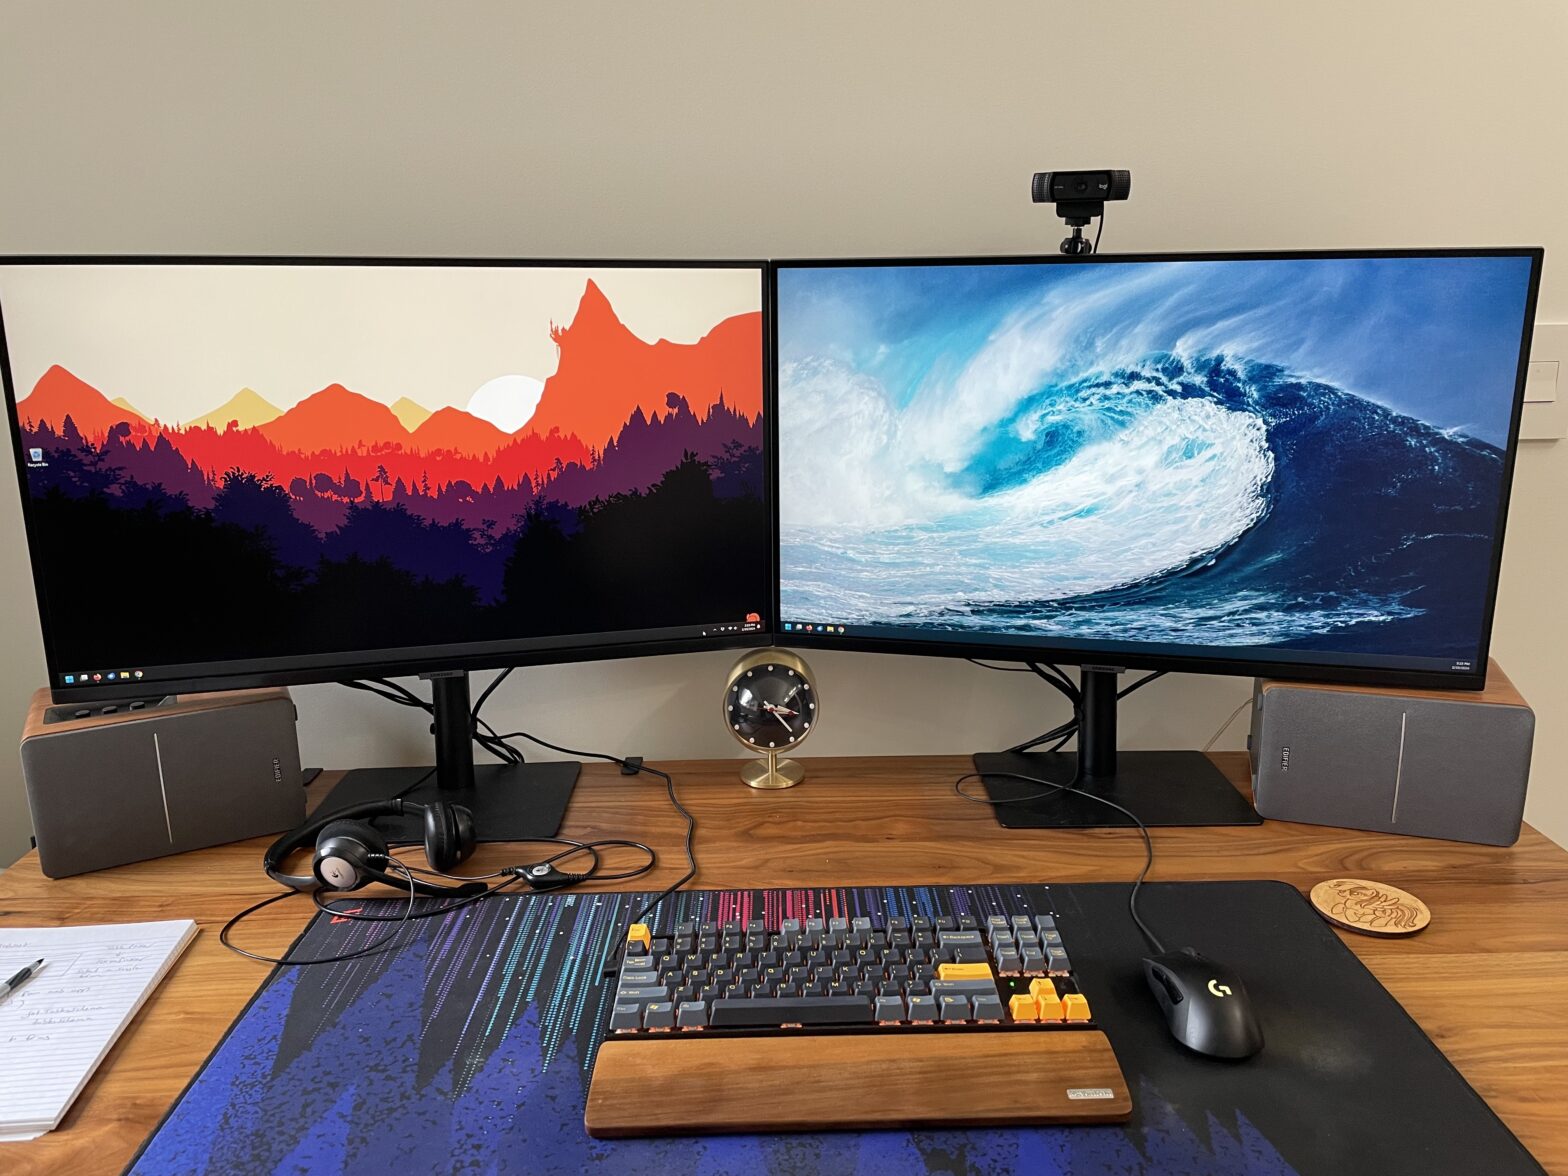
Recently I upgraded my monitors from a pair of Dell 24 inch displays to a pair of Samsung 32 inch displays – but ever since then, there’s been an odd little quirk that, in the grand scheme of things, isn’t a big deal, but it annoys me to no end and I can’t for the… Continue reading An Annoying Display Glitch
The Switching Saga
I work from home full time, and for most of that time I’ve used my own personal computer for doing my work – after all, I built it specifically to meet my needs as a developer, with exactly the right combination of processing power, performance, and disk space that I knew I was going to… Continue reading The Switching Saga
Stress Testing
Every once in a while I get the urge to push my system to the max – my computer system, that is. I built my current PC myself, and I get curious to see how well it performs (and if anything has changed). I recently got this urge again, so I ran a little stress… Continue reading Stress Testing